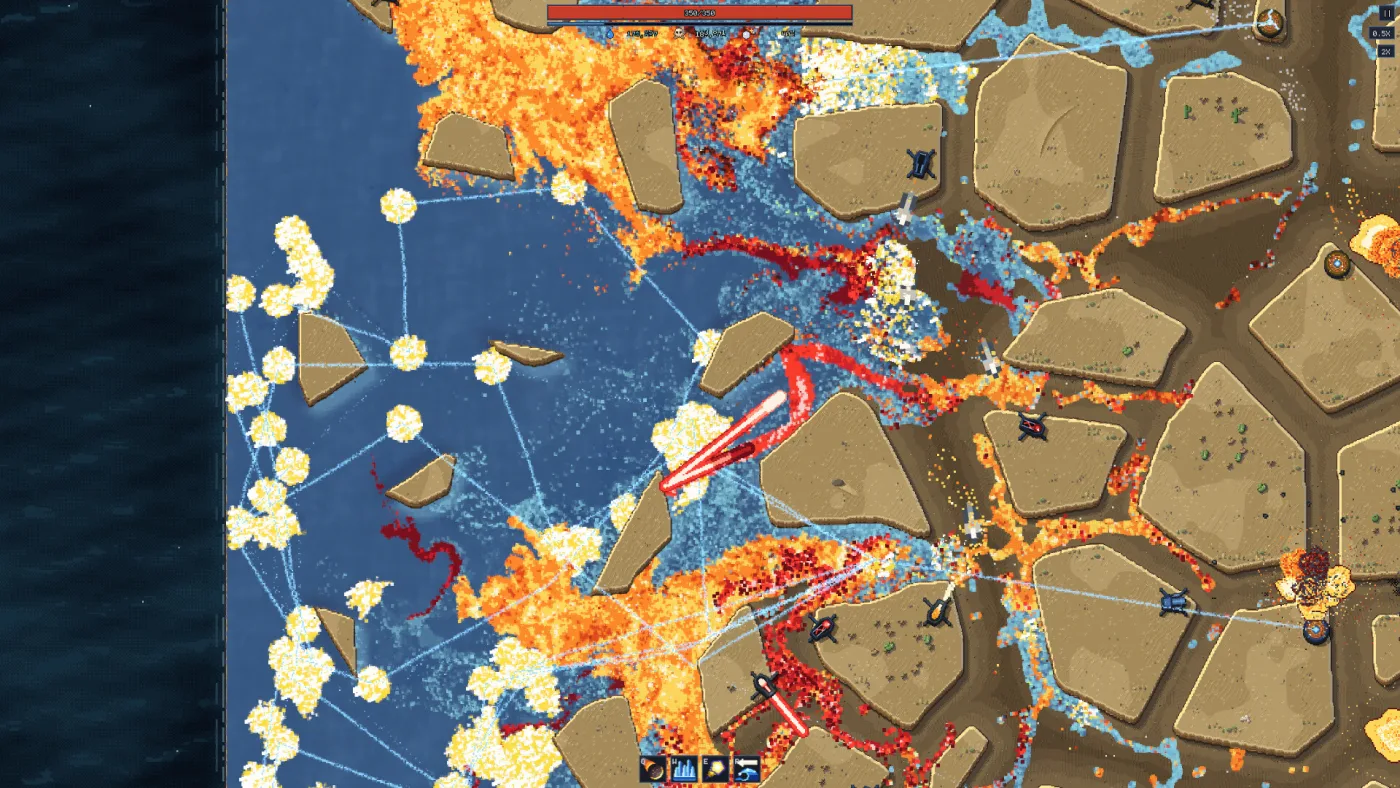
The tier list (demo, player reports)
| Tier | Turret | Why it is here | The catch |
|---|---|---|---|
| S | Flame | Demo players report two flame turrets at the entrance clearing most of a wave | Short range; dies without a Fan or wall |
| S (support) | Fan | Keeps Flame alive and pushes water out of the kill zone | No damage on its own |
| A | Laser | 68.4 damage to every drop it passes, 1 bolt/sec, 2 Clear | Stops at the first wall; needs a straight |
| A | Mortar | Splash on packed water; players credit the “cannon” on horde and lava | Slow; wasted on a thin stream |
| B | Auto | Cheap starter; covers the early game | Falls off when the flood has volume |
| B | Tesla | Electric multi-target in theory | No published numbers and few player reports |
| Unranked | Black Hole | The store says it swallows the flood | Late, expensive, undocumented |
This is a low-confidence, demo-era ranking. Only the Laser has a published stat line; everything else is player experience plus store description. It is still more useful than a list invented from names.
Why Flame plus Fan is the reported meta
The most specific report in the Steam discussions:
“Have like 1 or 2 fire turrets with wind turrets next to them so they won’t get destroyed and they take care of like 90% of the wave if you place them at the entrance.”
The logic is simple: the flood arrives in a dense column at the entrance, Flame does area damage to a dense column, and the Fan keeps the water from reaching the short-range turret. It is the cheapest way to turn the map’s own funnel into a kill box.
The same player then says the base game is too easy because of it. That is the important caveat: a strategy so strong that it flattens the difficulty curve is a candidate for a launch nerf, and it is also the reason challenge mode exists.
Laser: the one turret we can rank on numbers
The trailer’s tooltip is explicit:
“Fires 1 bolts of Light a second. Each deals 68.4 damage to every drop it passes and stops at the first wall. Cost: 2 clear.”
That makes the Laser the best long-line turret in the game on paper. Place it where the flood forms a column: a straight channel, a canyon run, the approach to a choke. Do not put a barricade between the Laser and the water — the beam stops at the first wall, including yours.
On a wide flat or a broken channel, the same 68.4 damage hits a handful of drops and the Laser looks expensive. Position is the whole turret.
Mortar: the horde answer
Players credit the Mortar (called “cannon” in the discussions) on the two hardest reported situations:
- Level 2 horde: “a lot of cannon and shotgun using” to beat it.
- The lava level: “don’t underestimate the cannon turret and fans.”
Splash is what the flame camp lacks when the flood is packed behind a wall and the entrance is already covered. If your Flame line holds but a clump keeps breaking through at the bend, Mortar is the upgrade, not a third Flame.
Auto and Tesla: the honest B tier
- Auto is the starter. It is cheap, it fires fast, and it is the right turret for the first two minutes of a map. It is not the turret you build a late-game plan around.
- Tesla has the least public evidence of any turret. The name and icon imply chain lightning, and a tight channel is the obvious place for it, but no player report in the threads we read gives it a damage number or a clear use. Test it in the demo before spending Perfect points on its builds.
Black Hole: unranked on purpose
The store says black holes swallow the flood, and the tree puts the node at the far right. That is all we have. No cost, no radius, no cooldown, no player report with numbers. Putting it in S tier because it sounds strong would be exactly the kind of guessing this site is supposed to avoid.
The ranking changes with the map
| Situation | First choice | Why |
|---|---|---|
| Dense entrance column | Flame + Fan | Area damage on a packed target |
| Long straight channel | Laser | Pierces every drop along the line |
| Water packed behind a wall | Mortar | Splash hits the clump |
| Wide flat, spread flow | Tesla / Auto | More targets, less clustering |
| Bank about to collapse | Fan / Frost Wall | Control buys time to rebuild |
| Horde mode | Mortar + Flame + Fan | Volume needs area, not single-target |
| Challenge mode | Depends on the modifier | Test before committing Perfect points |
What would change this ranking
- A launch-day balance patch (the demo’s flame camp is an obvious candidate).
- Published damage numbers for the other six turrets.
- A challenge-mode modifier that punishes short range.
- A Black Hole cost low enough to reach in a normal run.
We will re-rank after launch with the release build, and the checked date will change with it. For the full turret list, see all seven turrets; for the build choices, see tower builds.