The game in 30 seconds
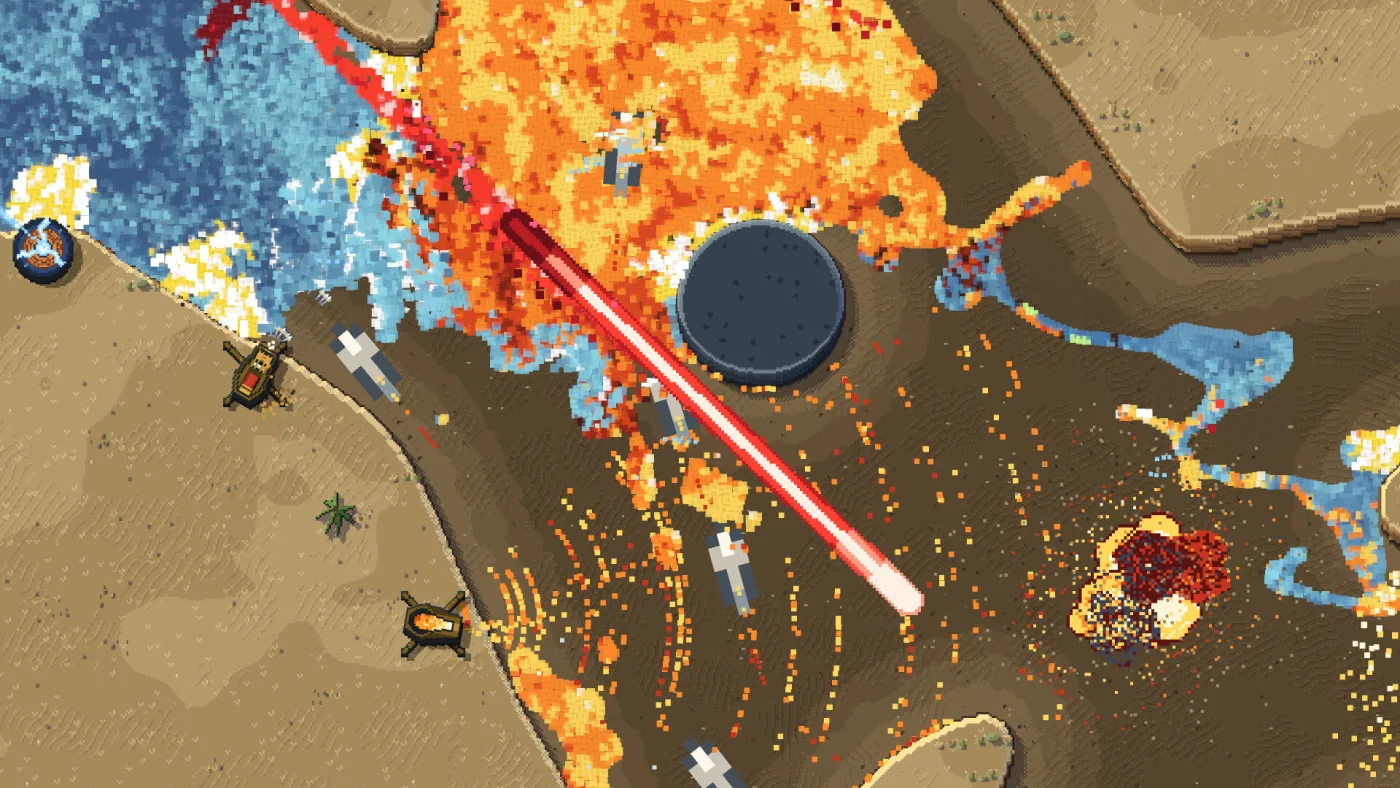
Water TD is a tower defense game where the enemy is a flood, not a line of monsters. Hundreds of thousands of drops pour downhill toward your base. They pile up, find gaps and carve the riverbanks. You build turrets along the banks, pick one of two builds for each turret, and spend the points you earn on a skill tree with 170+ upgrades.
Two consequences drive every beginner decision:
- The map changes during the level. A bank that was solid at the start can be gone by the last surge.
- Your turrets are the dam. If the flood gets past them, the base takes the damage; if the ground under them erodes, you lose the turret and the points you spent.
Your first level, step by step
- Watch the first few seconds without building. Find where the flood enters, where it pools and which channel it prefers. The flow is the map’s real layout.
- Put two or three Auto turrets at the first choke, one tile back from the bank. Overlapping fire is better than one turret covering a wide flat.
- Do not upgrade everything immediately. Basic points are plentiful early; save the Clear points.
- Unlock your second turret before the first boss-level surge. In the trailer UI the Laser node costs 2 Clear. A Laser on a long straight channel hits every drop it passes until the beam meets a wall.
- Add a Flame turret at the entrance when you can afford it. Flame is short-range and burns clumps; it is the strongest early damage demo players report.
- Put a Fan next to the Flame. The fan blows water back and keeps the flame turret alive. Demo players describe two flame turrets with fans at the entrance clearing “like 90% of the wave”.
- Keep one ability for the emergency. Fireball for a clump, Frost Wall to stall a surge, Lightning for a line, or the reversal when the line is about to break. Frost Wall shows a cost of 1 Clear in the trailer.
The three point types
| Point | Colour in the UI | What it buys | Beginner advice |
|---|---|---|---|
| Basic | White | Stat nodes: damage, range, fire rate and similar upgrades | Spend freely on the turrets you actually use |
| Clear | Blue | Turret and ability unlocks, and some build nodes | Save for a second turret and one ability before stat nodes |
| Perfect | Gold star | The stronger build nodes and high-end upgrades | Do not spend on a turret you have not tested |
The names and costs are read from the skill-tree UI in the official trailer. The store only says that levels earn points and that the tree has 170+ upgrades; it does not publish the earn rates, so we do not invent them.
Placement rules that survive erosion
- Solid ground, one tile back. The outer bank is a trap. Put turrets on the stable side and let the bank erode in front of them.
- Bends beat straights for AoE. Water slows and piles on a bend, which is where Mortar and Flame get value.
- Straights are for Laser. The Laser pierces every drop along its line until the first wall, so a long channel multiplies its damage.
- Channels are for Tesla and Frost Wall. A narrow channel concentrates the flood; blocking it with Frost Wall forces a reroute.
- Never build a turret you cannot afford to lose. The flood will take some of them; that is the game.
The opener demo players agree on
The most repeated report in the Steam discussions:
“Have like 1 or 2 fire turrets with wind turrets next to them so they won’t get destroyed and they take care of like 90% of the wave if you place them at the entrance.”
That is a demo-era report, not a developer promise. Two things follow:
- It is strong enough that the same players call the base game too easy.
- It may be nerfed or costed differently at launch. Test it in the demo, but do not assume it is the only opener.
If you want a harder run, skip the entrance camp and play the flood honestly: two Auto turrets at the choke, a Laser on the straight, and abilities for the surges.
Five mistakes that lose the first levels
- Building on the outer bank. The ground erodes; the turret falls; you lose the investment.
- Spending Clear on stat nodes first. Unlocks change what you can do; +10% damage does not.
- One turret covering a wide flat. Water spreads; overlapping fire at a choke is worth more.
- Ignoring the Fan. It is crowd control, not damage, and it is what keeps short-range turrets alive.
- Never trying challenge mode. If the base levels feel trivial, that is the mode you are missing, not a reason to stop playing.
After the first clear
- Try challenge mode on level 1 or 2. Demo players describe it as several attempts’ worth of difficulty.
- Try horde mode on level 2. One player calls it “very hard” even with flame turrets spawn-camping.
- Test one turret’s two builds before launch. The build system is the part the store explains least, and the demo is free.
- Check the towers page for the full seven-turret list, and the skill tree page for how the currencies fit together.